Home
Woodworking
Hand Railings
Skirt Boards
Crown Molding
Bidding
Wainscoting
Chair Rail
Interior Doors
Closet Doors
Exterior Doors
Installing Doors
Baseboard
Installing Baseboard
Windows
Install Cabinets
Hand Tools
Power Tools
Blog
Contact
Link Partners
Tool Reviews
About Me
Can't Find Something?
Check The Sitemap
Site Map
Woodworking
Hand Railings
Skirt Boards
Crown Molding
Bidding
Wainscoting
Chair Rail
Interior Doors
Closet Doors
Exterior Doors
Installing Doors
Baseboard
Installing Baseboard
Windows
Install Cabinets
Hand Tools
Power Tools
Blog
Contact
Link Partners
Tool Reviews
About Me
Check The Sitemap
Site Map
[?] Subscribe To This Site
Cutting Baseboard
Instructions For Cutting Baseboard Molding At Outside Corners
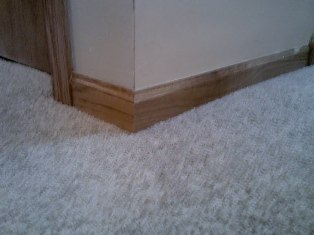
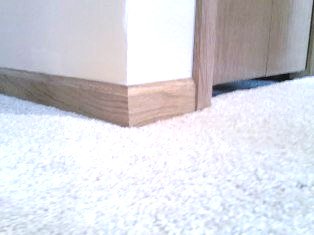
Cutting Baseboard molding for a 90 degree corner is a snap compared to the other corners. Just to clarify I will sometimes refer to baseboard trim or molding as base.Instructions

Using The Degrees To Your Advantage
Use 46 degrees on both sides of the 90 degrees corners. You may need to play with these degrees at times depending how bad the corners are. Starting with 46 degrees on one side always works on a 90 degree corner.

Return to Baseboard Installation Page.
Return From Cutting Baseboard page to Home - Finishcarpentryhelp.com.


