Home
Woodworking
Hand Railings
Skirt Boards
Crown Molding
Bidding
Wainscoting
Chair Rail
Interior Doors
Closet Doors
Exterior Doors
Installing Doors
Baseboard
Installing Baseboard
Windows
Install Cabinets
Hand Tools
Power Tools
Blog
Contact
Link Partners
Tool Reviews
About Me
Can't Find Something?
Check The Sitemap
Site Map
Woodworking
Hand Railings
Skirt Boards
Crown Molding
Bidding
Wainscoting
Chair Rail
Interior Doors
Closet Doors
Exterior Doors
Installing Doors
Baseboard
Installing Baseboard
Windows
Install Cabinets
Hand Tools
Power Tools
Blog
Contact
Link Partners
Tool Reviews
About Me
Check The Sitemap
Site Map
[?] Subscribe To This Site
Baseboard Trim Information and Baseboard Products
Baseboard trim installation is relatively easy. My instruction pages walk you through actual examples of how to start applying wood base in a room. This includes matching the wood and explaining how to make the cuts.I have installed many different styles and sizes of base and all of these methods explained will work with just about any style.
With the taller and bigger base which may be seen in the older homes the instructions may need to be modified but the principals are the same. All of these methods explained can then be applied to installation of quarter round or shoe and even in some circumstances crown molding.
By learning these techniques you gain valuable information and knowledge that can be applied in many circumstances and gives you a jump start on your trimming jobs. By valuable information and knowledge I am referring to other smaller jobs like maybe you know someone needs some shoe or quarter round applied to the bottom of their cabinets.
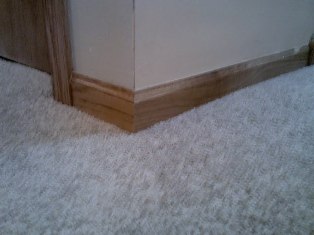
Installation
For example if you are just starting out and want to learn the basics of installing base then you will want to go here to the installation page. This is actual on the job instructions and gives the basics of how to cut and attach the base properly to the wall as well as many tips to get a professional looking job.
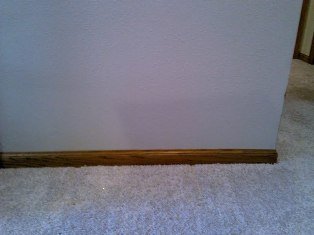
After you learn the basics you may run into an instance where the base just has to end on a wall without running into a corner or another piece of trim. This doesn't happen a lot but in some circumstances it does happen. When it does you will want the ending of this piece of base to have a finished look to it. This finished look is called a baseboard return. If you run into this type of circumstance and need to learn how to make a return go to this page returns.
Coping Baseboard
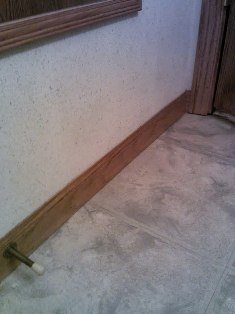
Sooner or later you are going to run into an inside corner and will need to learn how to cope. My method of coping involves using your miter saw and a dremel tool. My method of coping is easy, fast and neater then using a coping saw. To learn how to do coping go to this page coping.
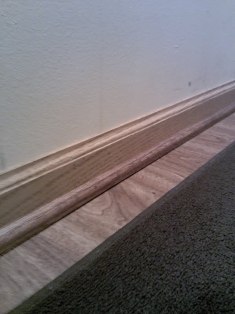
Baseboard Products To Make Basing Easier
If you don't want to deal with all of the corners there are some products out there to help make basing a little easier. There are some cool baseboard products out there to make installation easier. There are outside or inside corner blocks or also known as baseboard plinth blocks that you just nail to the corners and run the base up to it with just an easy straight cut. Also may be referred to as a transition block. I have installed these different blocks and they can come in a variety of wood or man made materials. One thing you really need to be careful with is when these blocks are made of real wood they tend to split very easily when you shoot nails into them while attaching them. The cost of these blocks does vary a little and could get quite expensive if you are putting them throughout the house.
A Tip; I made the mistake of not installing these plinth blocks uniformly spaced in a room I was trimming one time that had extraordinarily long walls and only used them where they were needed. The homeowner ended up calling me back and asking if I could reinstall them in a more uniform manner so they were in the middle of the baseboard runs. Being customer orientated I did this and I did agree to his complaint, needless to say he was happy when I was through which was good for both of us.
A lot of times a block of this type is used at the bottom and top of the stairs where the skirt boards come to an end. The finish carpenter will make these if there are not any other plinth blocks being used throughout the house.
You could of course make all of the plinth blocks if you preferred rather then buying them and make them as plain or fancy as you like. Making these plinth blocks for the inside and outside corners could however turn out to be a lot of work and more time consuming then anticipated so you may find it easier and quicker to just buy them. It's just a matter of preference, time and ingenuity.
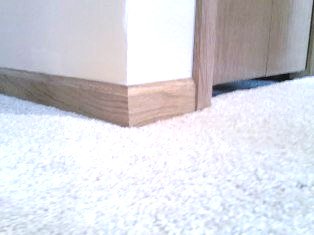
There are also some different types of non wood baseboard products. If you ever look at the base in say a motel you may see a carpet style base. A lot of commercial buildings or businesses use this and then on the hard floor areas they sometimes use a vinyl type version of base. I also have installed these different types and it is very easy. No cutting with a miter saw. Dealing with corners is easy and it installs really quick. It does have a different look especially in a house if you are looking for something different or you just want an easy and quick way of getting the job out of the way.
A lot of people ask how to run base at rounded walls or big rounded corners and this would be a simple solution. They have came out with a rubber version of casing and base trim also. This would work on rounded corners also. I have never installed this rubber trim nor would I think people would want this through out their house except in unusual conditions.
Return From Baseboard Information to Home - Finishcarpentryhelp.com.


